On this page
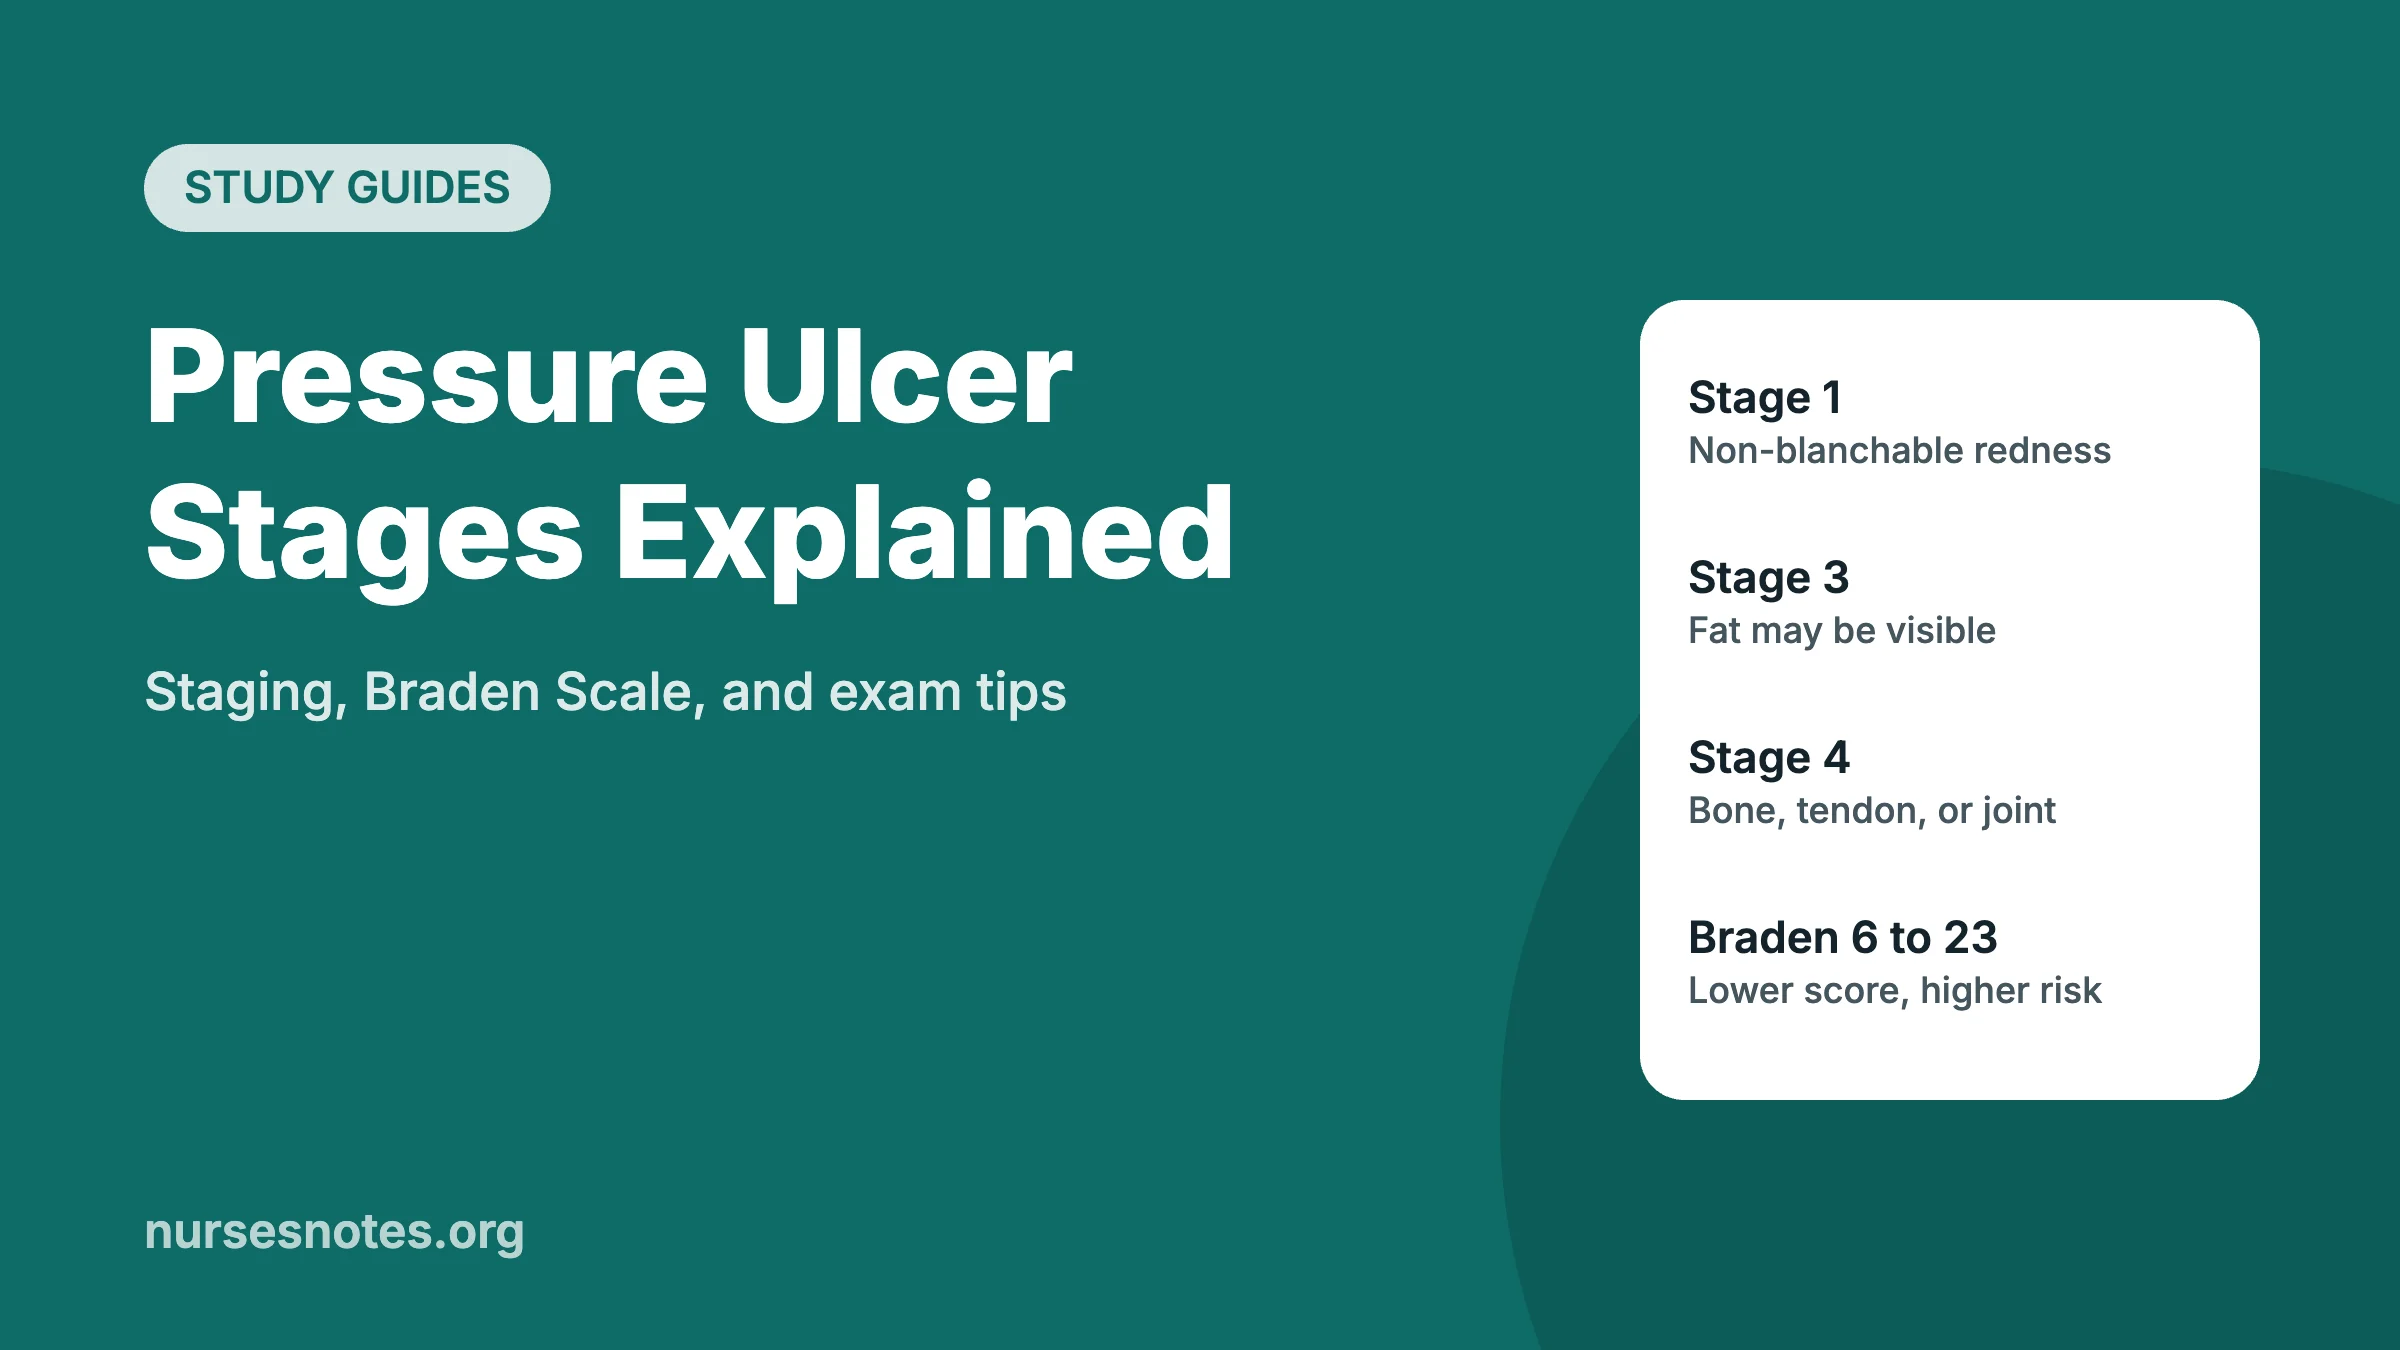
Pressure ulcer stages describe how deep tissue damage goes, from Stage 1 (intact skin with redness that does not blanch) to Stage 4 (full-thickness loss that may expose tendon, bone, or joint), plus two extra categories: unstageable and deep tissue injury. Knowing the stages helps you document accurately, plan prevention, and answer NCLEX and Philippine nursing board questions with confidence.
Key points
- Pressure ulcers (also called pressure injuries, pressure sores, or bedsores) form over bony areas or under medical devices when pressure is prolonged, and shear and friction add to the damage.
- Stages 1 to 4 reflect depth; unstageable means slough or eschar hides the wound base; deep tissue injury shows persistent purple or maroon discolouration.
- The Braden Scale scores six risk factors, and a lower total means a higher risk.
- NICE advises repositioning adults at risk at least every 6 hours and adults at high risk at least every 4 hours; always follow your care plan and facility policy.
What is a pressure ulcer?
A pressure ulcer is localised damage to the skin and the soft tissue underneath, usually over a bony prominence or under a medical device. It happens when pressure is intense or lasts a long time, and shear and friction make the injury worse.
Many guidelines now use the term pressure injury, but pressure ulcer, pressure sore, and bedsore are still common in hospitals and exams. The NHS notes that ulcers often develop gradually, yet they can appear within a few hours in a vulnerable patient.
Where pressure ulcers usually form
- Tailbone and sacrum
- Heels
- Hips
- Elbows
- Skin under or around medical devices, such as tubes, masks, and splints
Who is at higher risk?
The NHS lists these groups as more likely to develop pressure ulcers:
- People who have difficulty moving or changing position
- Anyone who has had a pressure ulcer before
- People who are seriously ill, have been in intensive care, or have recently had surgery
- People who are underweight
- People with swollen, sweaty, or broken skin, poor circulation, or fragile skin
- People with reduced feeling or sensation
Pressure ulcer stages at a glance
| Stage | What you see | Quick clue |
|---|---|---|
| Stage 1 | Intact skin with a patch of redness that does not blanch (turn pale) when pressed. On black or brown skin it may look purple or blue rather than red. | Skin not broken |
| Stage 2 | Partial-thickness skin loss into the dermis. It may show as a blister or a shallow area of broken skin. | Shallow; no fat seen |
| Stage 3 | Full-thickness skin loss. Fat under the skin may be visible, and there may be tunnelling or undermining. | Fat visible |
| Stage 4 | Full-thickness skin and tissue loss with tendon, bone, or joint possibly visible. | Deepest stage |
| Unstageable | Full-thickness loss covered by slough (yellow or grey tissue) or eschar (dark, hard tissue), so the depth cannot be seen. | Base hidden |
| Deep tissue pressure injury | Persistent, non-blanchable maroon or purple discolouration, or a blood-filled blister. | Damage under the skin |
Nursing assessment
- Full skin check: AHRQ recommends a systematic head-to-toe skin assessment, repeated daily, and documenting a body map within the first 24 hours of admission even if the skin is intact.
- Early warning signs: skin that stays discoloured when pressed; areas that feel warm, spongy, or hard; and pain or itching over a bony area.
- Wound description: record location, stage, size, depth, undermining, tunnelling, dead tissue, and signs of infection at each assessment.
- Risk score: use a validated tool such as the Braden Scale or Norton Scale, and repeat it as your policy requires.
- Infection red flags: hot, swollen, or red skin; pus; a high temperature; or severe or worsening pain. Report these to the doctor promptly.
Braden Scale for pressure ulcer risk
The Braden Scale has six subscales. Each is scored separately and the scores are added together; a lower total means a higher risk.
| Subscale | Score range | Care-plan trigger (AHRQ) |
|---|---|---|
| Sensory perception | 1 to 4 | Below 3 |
| Moisture | 1 to 4 | Below 4 |
| Activity | 1 to 4 | Below 3 |
| Mobility | 1 to 4 | Below 3 |
| Nutrition | 1 to 4 | Below 3 |
| Friction and shear | 1 to 3 | Below 3 |
A low subscale score points to the problem you need to fix. For example, a low moisture score calls for a plan to manage sweat or incontinence, while a low nutrition score calls for a feeding and hydration plan.
Nursing interventions for pressure ulcers
Prevention
- Reposition regularly. NICE recommends at least every 6 hours for adults at risk, at least every 4 hours for adults at high risk, and at least every 4 hours for children at risk (more often if high risk). Your care plan may set a shorter interval.
- Use pressure-redistributing surfaces, such as specialist foam or gel mattresses, overlays, and cushions, for patients at risk.
- Reduce friction and shear during turning and transfers, and position the patient carefully.
- Manage moisture from sweat, wound drainage, or incontinence, and keep the skin clean and dry.
- Support nutrition and hydration, especially for patients with Stage 3 or Stage 4 ulcers. See our guide to signs of dehydration in adults.
- Encourage movement where possible, and teach patients and carers to check the skin every day.
Caring for an existing ulcer
- Clean the wound and apply the dressing chosen by the care team, using good hand hygiene at every step.
- Give pain relief as ordered before dressing changes.
- Support removal of dead tissue (debridement) by trained staff when ordered.
- Watch for infection; antibiotics may be needed if it develops, and severe ulcers may need surgery.
- Keep pressure off the ulcer and continue all prevention measures.
Exam tips
- Memory aid: “1 red, 2 blister, 3 fat, 4 bone.” Stage by the deepest tissue you can see.
- Trap: if slough or eschar hides the wound base, the answer is unstageable, not Stage 4.
- Trap: intact purple or maroon skin, or a blood-filled blister, is a deep tissue pressure injury, not Stage 1 or Stage 2.
- Blanching test: Stage 1 redness does not blanch. Redness that fades when pressed is not a Stage 1 ulcer.
- Braden: lower is worse. The lowest possible total is 6 and the highest is 23.
- Priority questions: prevention answers (skin checks, repositioning, support surfaces, and moisture control) usually come before dressings.
Frequently asked questions
What is the difference between a Stage 1 pressure ulcer and a deep tissue injury?
Both can occur on intact skin. A Stage 1 ulcer is a patch of redness that does not blanch when pressed, showing early surface damage. A deep tissue pressure injury is persistent maroon or purple discolouration, or a blood-filled blister, which signals damage in deeper tissue. Report deep tissue injuries promptly because they can worsen quickly.
How often should a bedridden patient be turned to prevent pressure ulcers?
NICE recommends repositioning adults at risk at least every 6 hours and adults at high risk at least every 4 hours. Children at risk should be repositioned at least every 4 hours, and more often if at high risk. Many facilities set shorter intervals, so always follow your care plan and local policy.
What are the first signs of a pressure ulcer?
Early signs include a patch of skin that stays discoloured when pressed, which may look red on lighter skin or purple or blue on darker skin. The area may feel warm, spongy, or hard, and it may be painful or itchy. Check bony areas such as the heels, hips, and tailbone daily.
Related on Nurses Notes
- 5 Moments for Hand Hygiene: nursing study guide and exam tips
- Signs of dehydration in adults and what to do
- Nursing care plan for hypertension: diagnoses and interventions
- All nursing study guides
Sources
- Pressure Injuries (Archived) – Mondragon N, Zito PM. StatPearls, NCBI Bookshelf, updated 2024
- Pressure ulcers (pressure sores) – NHS, reviewed 2023
- Quality statement 5: Advice on repositioning (Pressure ulcers, QS89) – NICE, based on guideline CG179 (2014)
- Module 3: Best Practices in Pressure Injury Prevention – Agency for Healthcare Research and Quality (AHRQ), 2017
This article is for education only and does not replace advice from your own doctor, nurse, or other qualified health professional. Always follow your facility’s policies and reference ranges.